How to Program Your Garage Door Remote: A Complete Guide for Concord, MA Residents

Understanding Your Garage Door Remote
Your garage door opener remote is not just a convenience; it’s a safety feature that enhances your home’s security. Understanding how to program and troubleshoot your garage door remote can save you time and money, especially for residents in Concord, MA. This comprehensive guide will walk you through the process step by step, ensuring you can confidently manage your garage door remote.
Why You May Need to Program Your Garage Door Remote
There are several reasons you might need to program your garage door remote. Here are a few scenarios:
- New remote purchase
- Changing batteries
- Security upgrades
- After a power outage
According to industry statistics, nearly 30% of homeowners will need to reprogram their garage door remotes at some point. Ensuring your remote is functioning properly helps maintain your home’s security and convenience.
Gathering the Necessary Tools
Before you begin programming your garage door remote, it’s essential to have the right tools on hand. Here’s what you’ll need:
- Your garage door remote
- Your garage door opener unit
- Owner’s manual for your specific opener (if available)
- Step stool (if necessary)
Finding Your Garage Door Opener Model
Your garage door opener will have a model number located on the motor or faceplate of the unit. This is crucial for finding the correct programming instructions, especially if you're in Concord, MA, where variations in models may exist.
Step-by-Step Guide to Programming Your Garage Door Remote
Now that you are prepared, let’s dive into the programming process. Follow these step-by-step instructions:
Step 1: Locate the 'Learn' Button
Most garage door openers feature a 'Learn' button. Here’s how to find it:
- Look on the back or side of the motor unit.
- Press the button once without holding it down (a light will typically blink).
Step 2: Prepare Your Remote
Next, prepare your remote:
- Remove the battery cover and replace old batteries if necessary.
- Ensure you are within a few feet of the garage door opener.
Step 3: Program Your Remote
Now, it’s time to program:
- Press and hold the button on the remote that you want to use.
- While holding the button, press the 'Learn' button again on the opener.
- Release both buttons after a few seconds (you should hear a clicking sound).
Step 4: Test Your Remote
Once programmed, test your remote:
- Press the button on your remote.
- Make sure the garage door opens and closes.
Troubleshooting Common Issues
If your remote isn’t working after programming, don’t worry! Here are common issues and solutions:
- Remote not responding: Check if the batteries are installed correctly.
- Garage door does not open: Ensure you are within range of the opener.
- Remote works intermittently: There may be interference; try reprogramming.
When to Call the Professionals
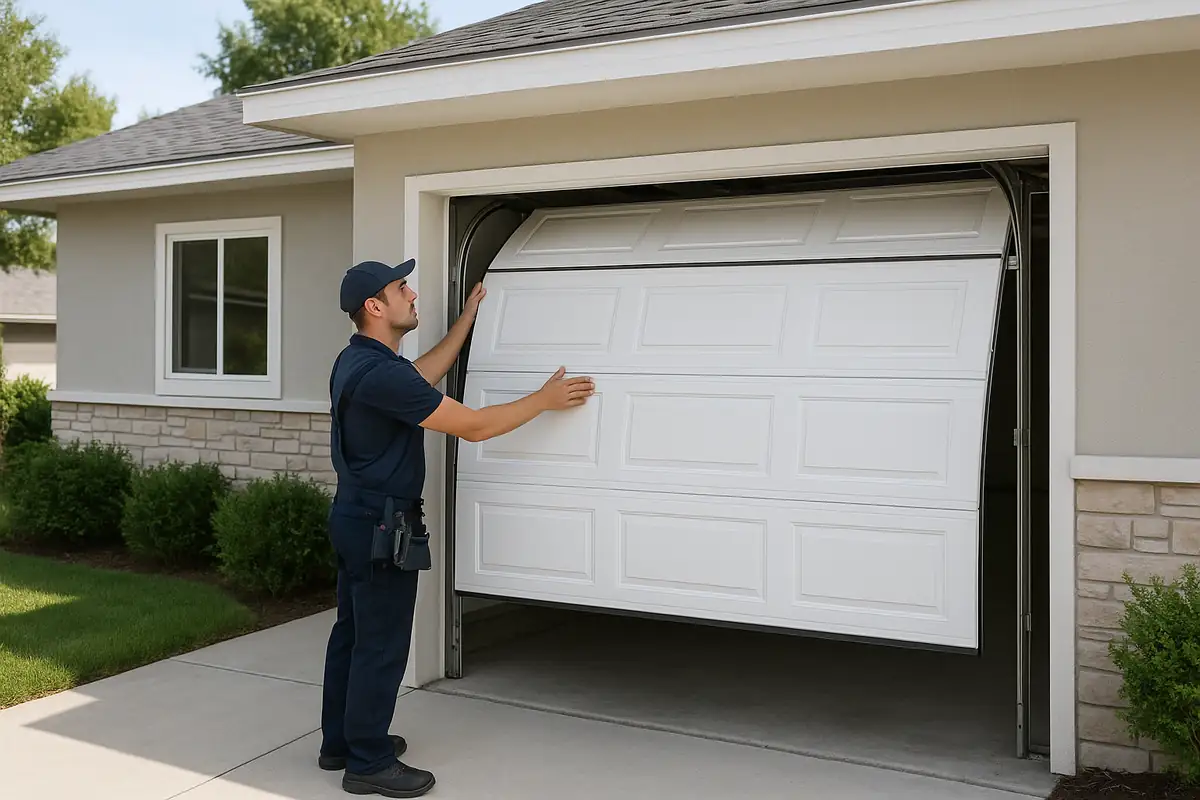
If you’ve tried the above steps and your garage door remote still isn’t functioning, it may be time to seek professional help. The team at Area Garage Door Repair in Concord, MA, specializes in garage door systems and can diagnose any issues efficiently.
Conclusion: Keep Your Garage Door Secure
Programming your garage door remote is a straightforward task that can enhance your home’s security and convenience. By following this guide, Concord, MA residents can confidently manage their garage door systems. If you need further assistance or professional service, don’t hesitate to contact Area Garage Door Repair. Our experts are here to help you with all your garage door needs!
Explore More Resources
Related Articles
Service Areas
We proudly serve Concord, West Concord, East Acton, Damons Mills Westvale, Acton and more areas.
Our Services
Professional garage door repair, spring repair, opener installation and more. View all services →

Essential Garage Door Spring Maintenance Guide in Concord, MA

When to Replace vs Repair Your Garage Door: Expert Insights for Concord, MA Homeowners